A Step-by-Step Guide to Flooring Installation in Lee County Homes


Installing new flooring in your Lee County home can dramatically enhance its appearance and value. Whether you're opting for hardwood, laminate, or tile, following a structured process ensures a durable and professional finish. In this guide, we'll walk you through each step of the flooring installation process.
Preparation and Planning
Before starting any installation, proper planning is crucial. Begin by selecting the right type of flooring for your home. Consider factors such as foot traffic, moisture levels, and your home's interior design. Once you've made your choice, measure the area accurately to determine the amount of material needed.
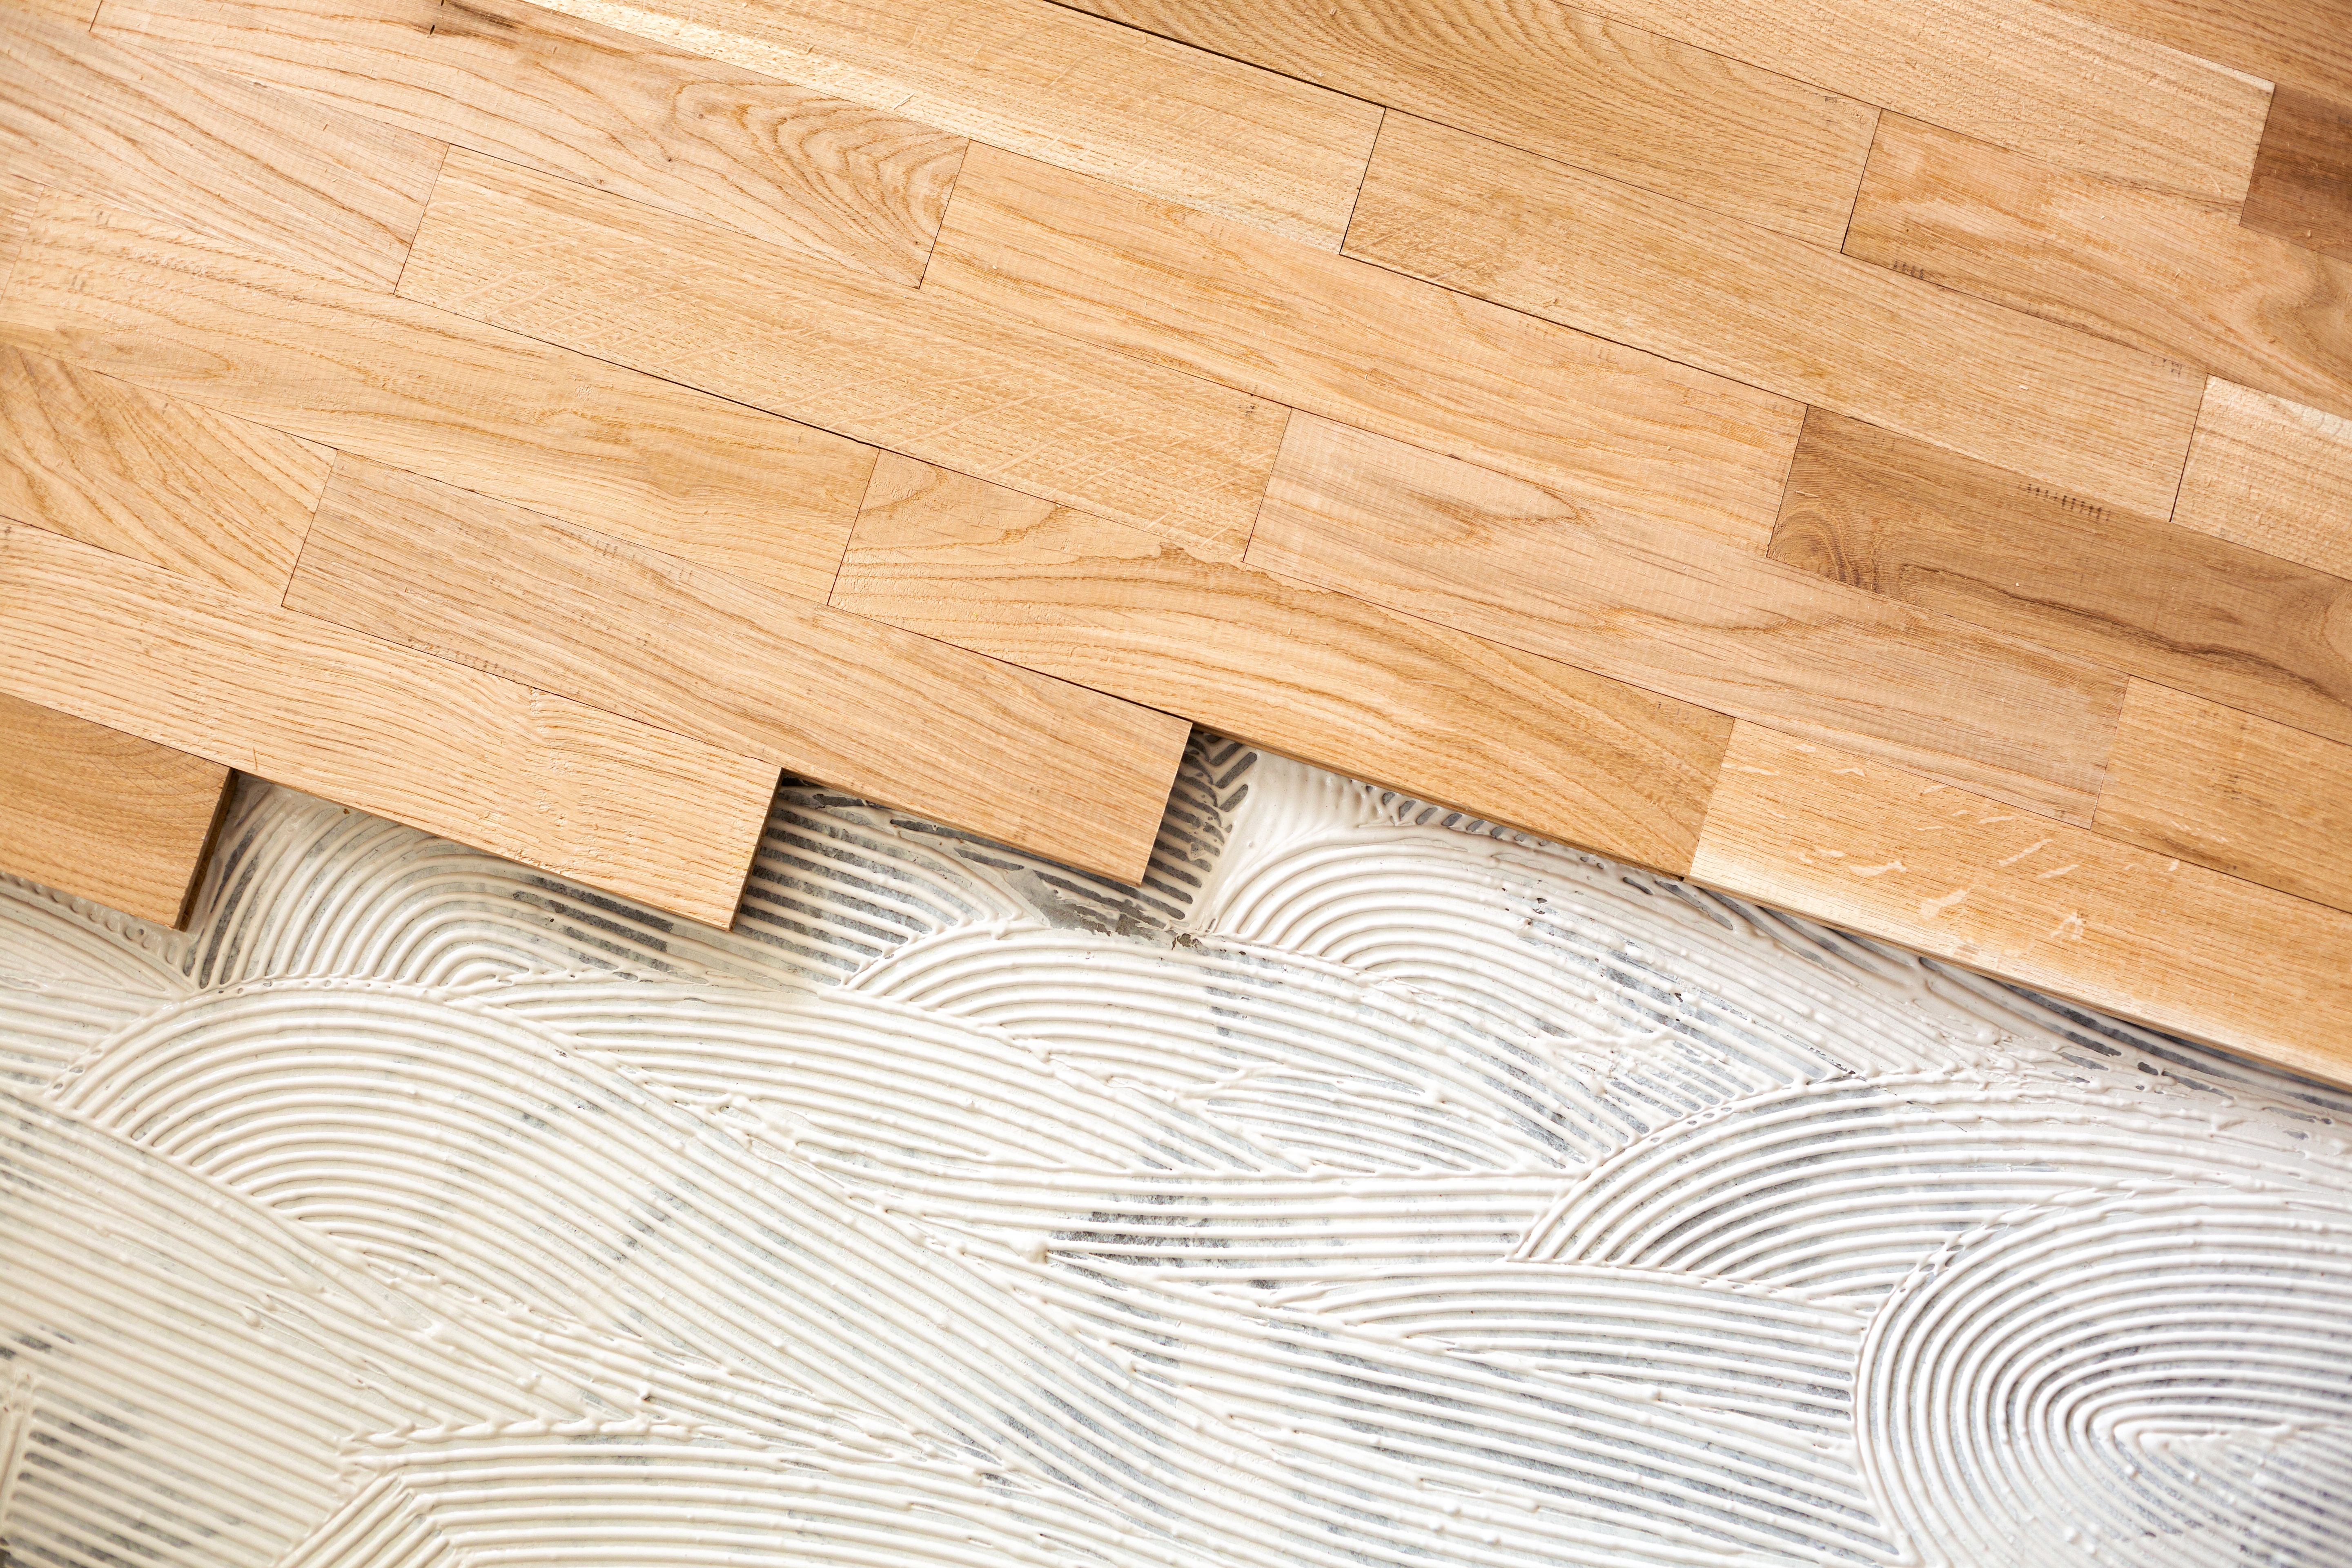
It's also essential to prepare your subfloor. Ensure it's clean, dry, and level to avoid any issues with the new flooring. Remove old flooring and repair any damages to the subfloor to create a smooth base for installation.

Gathering Materials and Tools
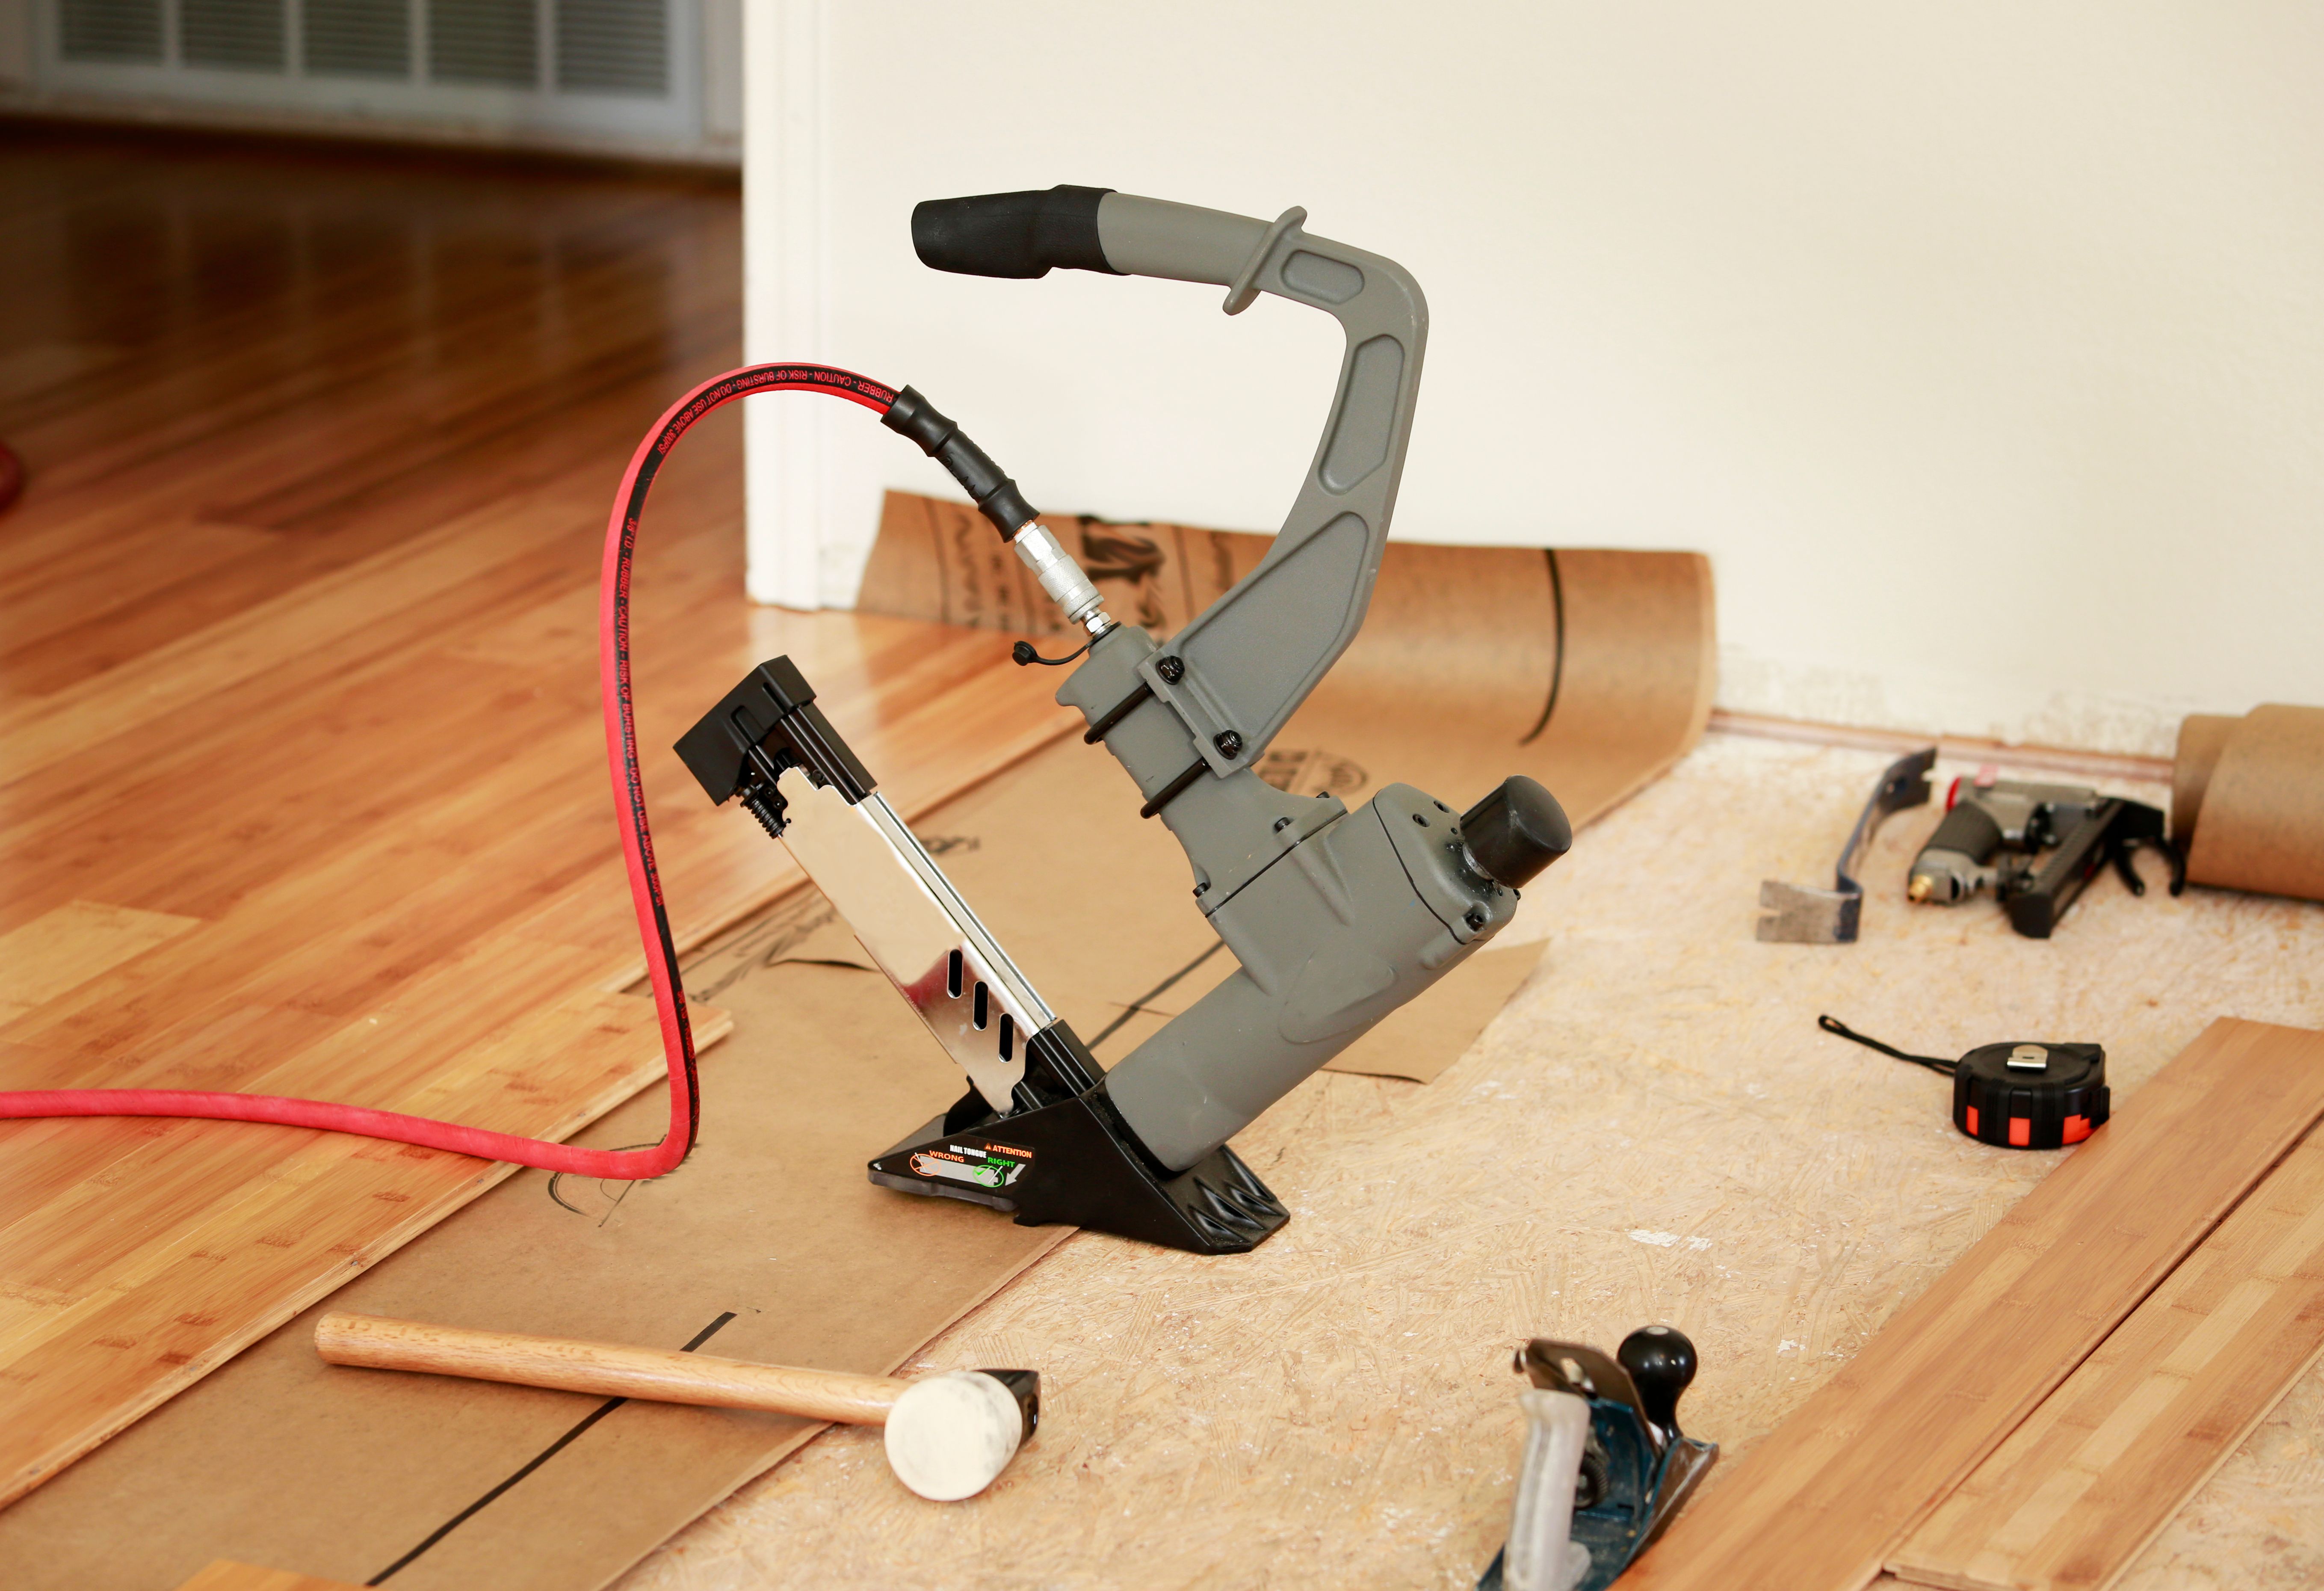
Having the right tools and materials on hand will make the installation process smoother. Common tools include a tape measure, saw, spacers, adhesive, and a rubber mallet. Depending on your flooring type, you might also need specific items like underlayment or grout.
Purchase a few extra boxes of flooring to account for mistakes or future repairs. It's always better to have a little more than not enough, especially if your chosen flooring might be discontinued later.
Installation Process
Hardwood and Laminate Flooring
For hardwood and laminate, start by laying down the underlayment if required. This acts as a moisture barrier and provides cushioning. Begin laying the planks from one corner of the room, using spacers to maintain a gap between the flooring and the walls for expansion.
Stagger the planks to create a more natural look, cutting the end pieces to fit as needed. Use a tapping block to gently secure the planks together without damaging them. Once complete, remove the spacers and install baseboards to cover the expansion gaps.
Tile Flooring
For tile installation, mix and apply adhesive to a small section of the floor. Lay the tiles, using spacers to ensure even spacing. Cut tiles as needed to fit around edges and obstacles. Once the adhesive sets, apply grout between the tiles, wiping away excess with a damp sponge.
Allow the grout to cure fully before walking on the tiles. Seal the grout lines to protect them from moisture and stains, ensuring the longevity of your new flooring.
Finishing Touches
After installing your new flooring, it's time to add the finishing touches. Clean any debris and dust from the surface. For hardwood and laminate, consider applying a protective finish to enhance durability. For tiles, ensure all grout lines are sealed and any residue is cleaned off.

Finally, replace any furniture and decorations, taking care to use pads or felt under furniture legs to prevent scratching. Enjoy your beautifully transformed space and the added value it brings to your home.