DIY Interior Painting: Tips and Tricks for a Professional Finish


Preparation is Key
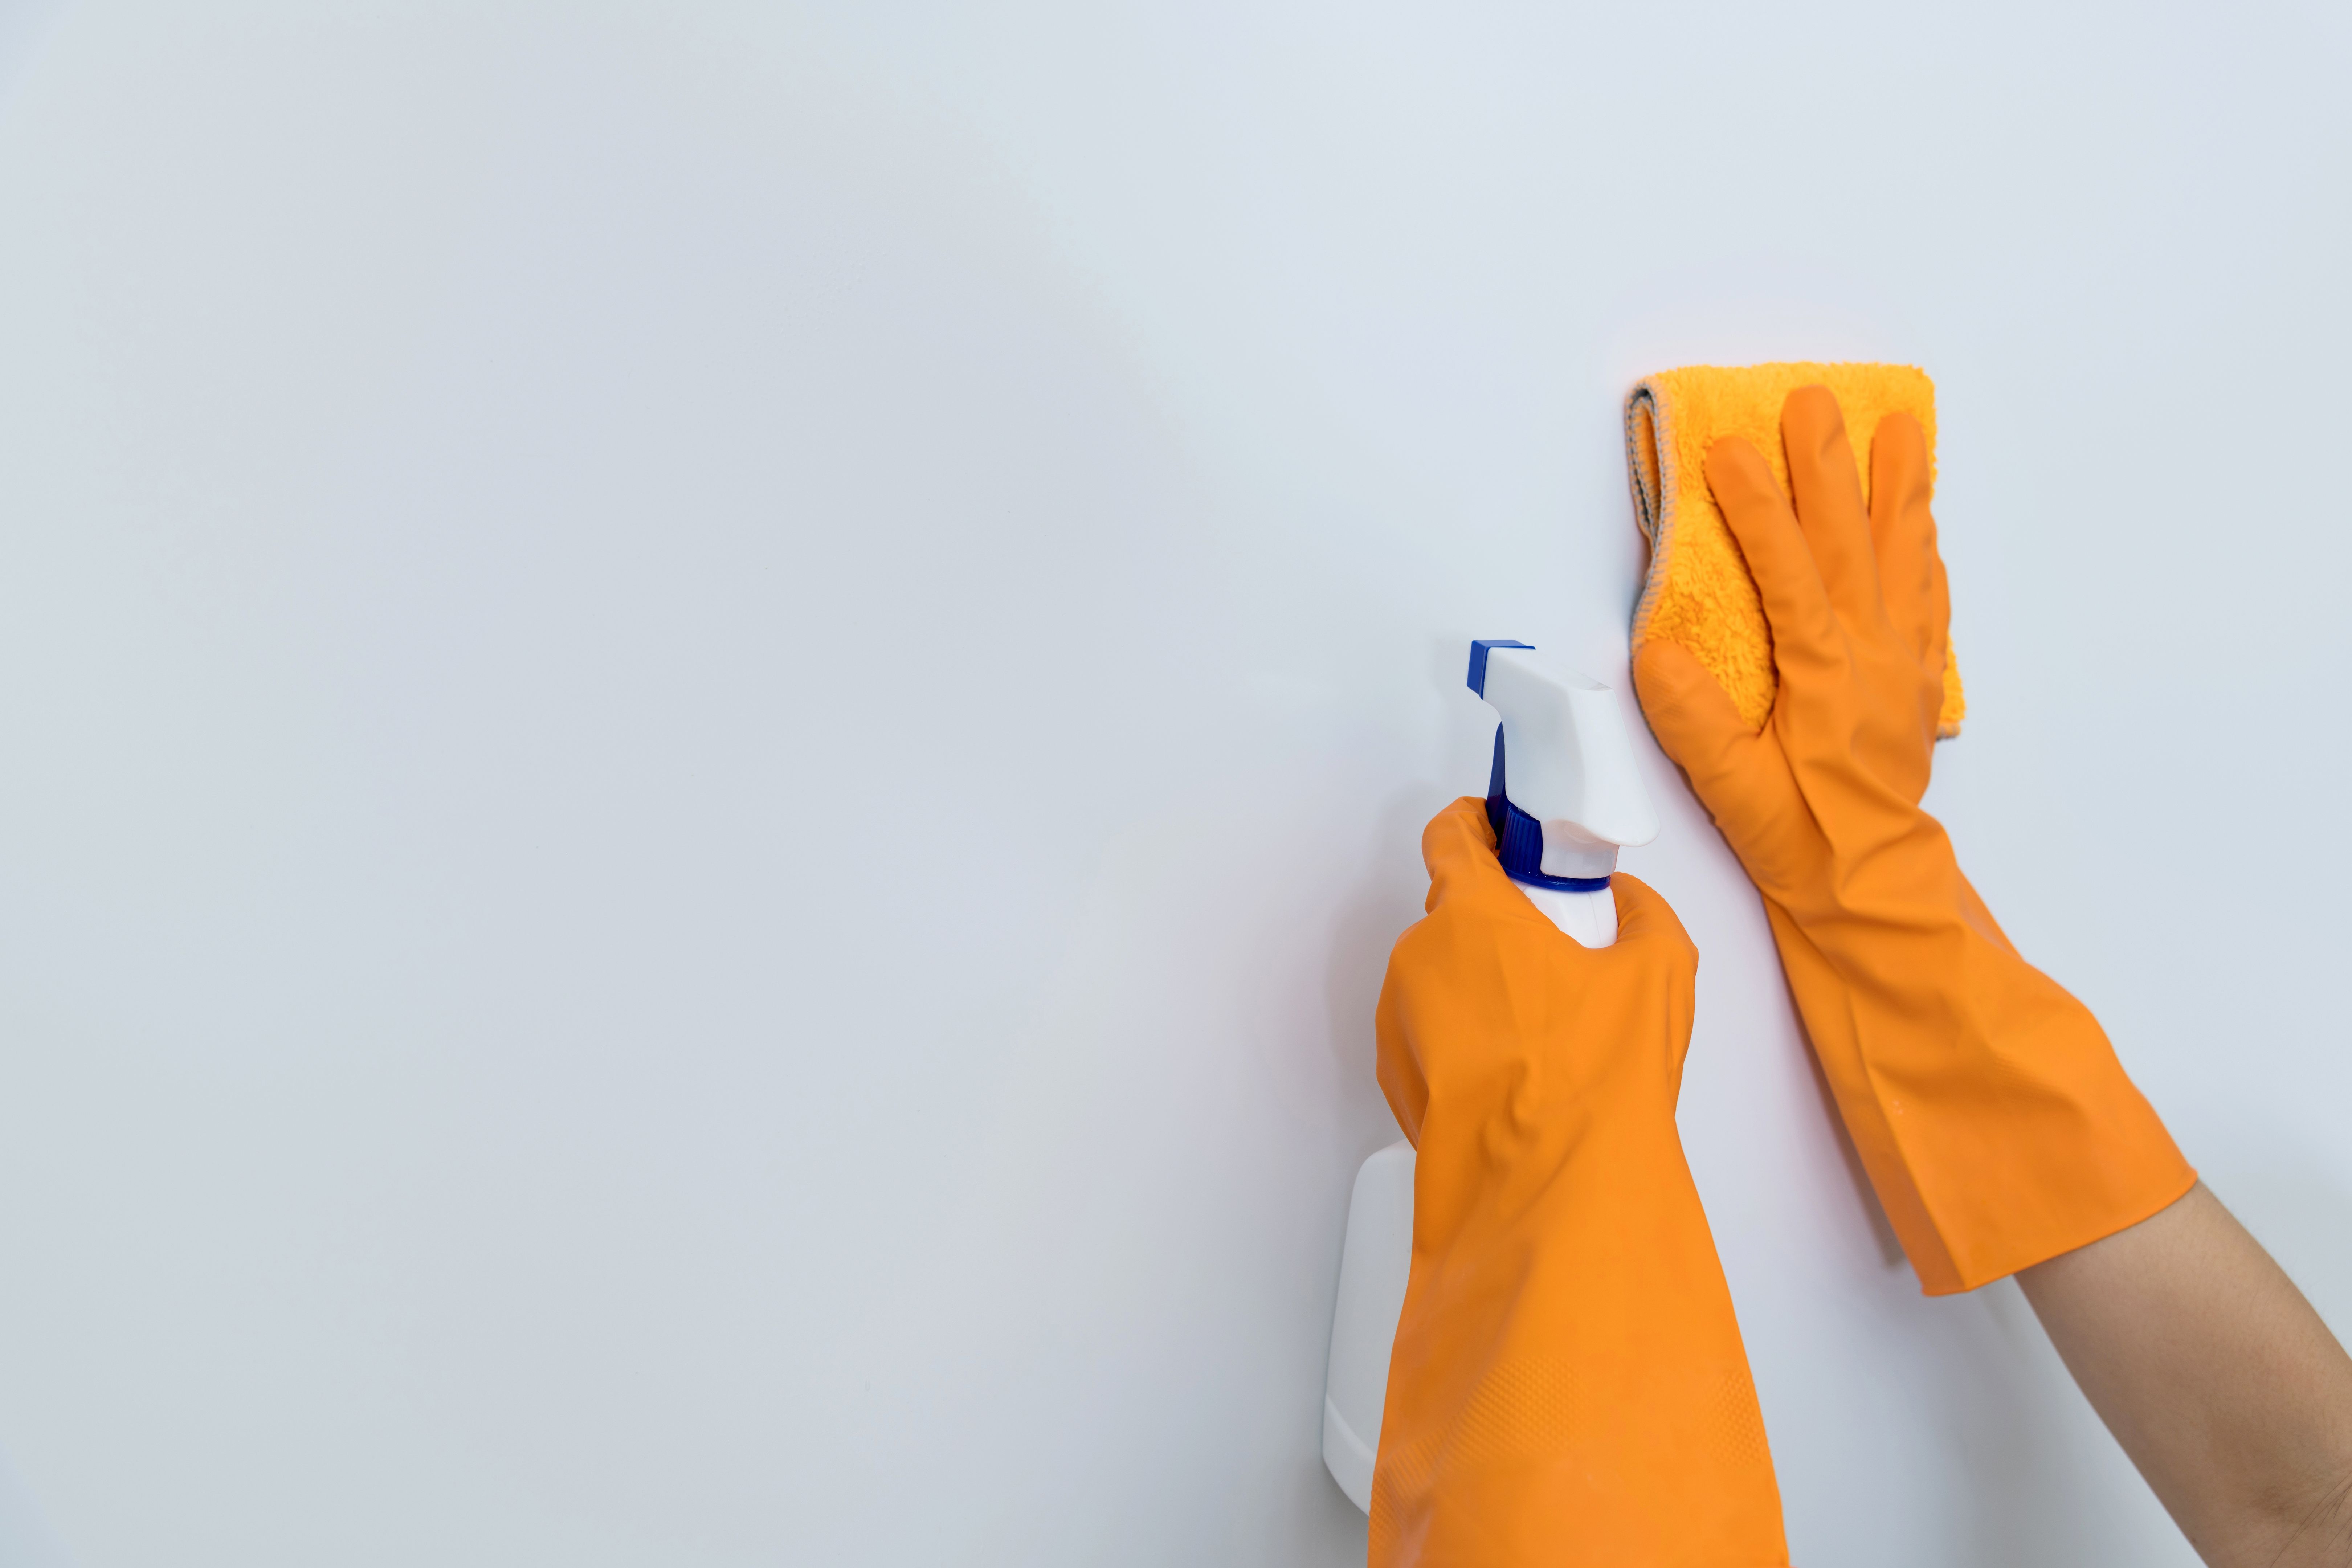
Before you dive into painting, it's crucial to prepare your space. Start by removing all furniture or covering it with drop cloths to protect it from paint splashes. Next, clean the walls to remove any dust, dirt, or grease, which can affect paint adhesion. Check for any holes or cracks in the walls and fill them with a quality filler. Once the filler is dry, sand the areas to ensure a smooth surface.
Don't forget to tape off areas you don't want painted, such as trim, windows, and door frames. Use painter's tape for clean edges. It might seem like an extra step, but this preparation will save you time and effort later.
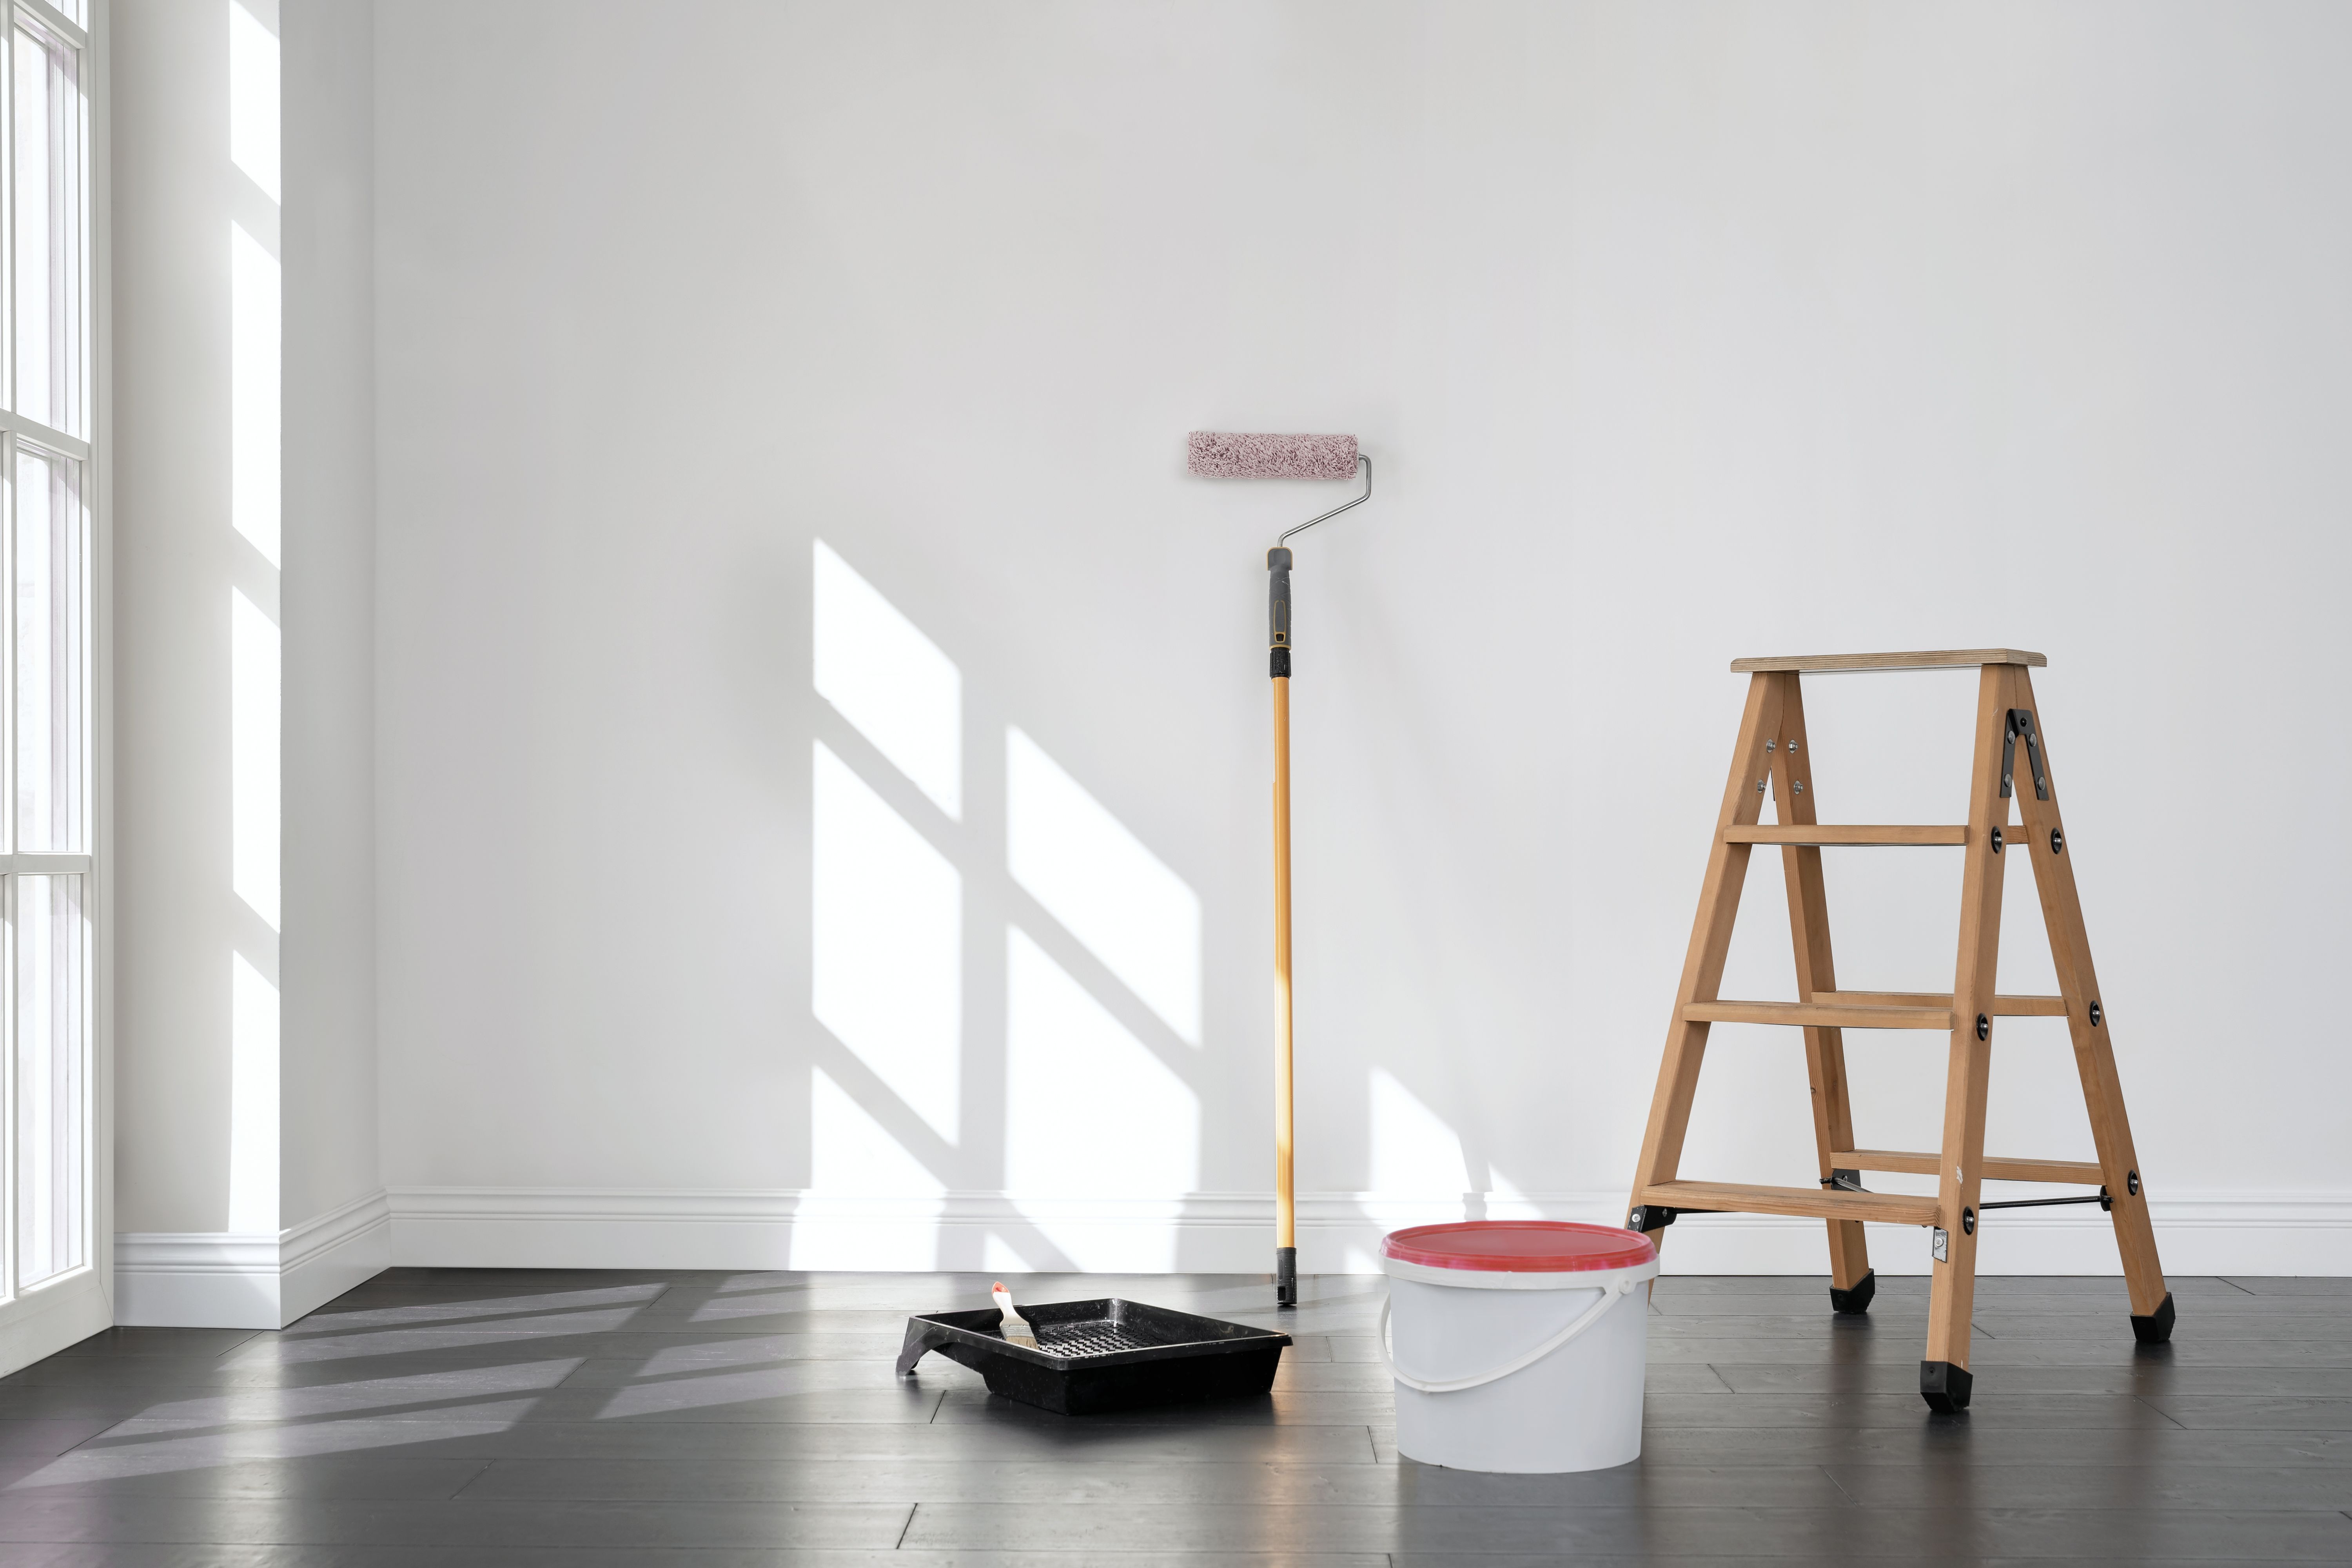
Choosing the Right Tools and Paint
Selecting the right tools is essential for a professional finish. Invest in high-quality brushes and rollers. A good brush will give you clean lines and a smooth finish, especially for cutting in edges. For larger areas, use a roller with the appropriate nap length for your wall texture.
When it comes to paint selection, consider the type of room and its use. Kitchens and bathrooms benefit from semi-gloss or satin finishes due to their durability and ease of cleaning. Living rooms and bedrooms can be enhanced with matte or eggshell finishes for a more elegant look.
Mastering the Technique
Now that you're ready to paint, apply a primer first, especially if you're painting over a darker color or dealing with new drywall. Primer helps paint adhere better and ensures an even color.
When painting, use the "W" technique with your roller. This involves painting a large "W" on the wall and filling it in without lifting the roller. This method ensures even coverage and prevents streaks. Be sure to overlap each stroke slightly to maintain a wet edge.
Finishing Touches
Once your walls are painted and dry, carefully remove the painter's tape. Do this slowly to avoid peeling any paint away from the edges. If any paint has seeped under the tape, use a small brush to touch up those areas.
Reattach any fixtures or outlet covers once everything is dry. Take a step back and admire your work; you'll be amazed at how a fresh coat of paint can transform a room.
Maintenance Tips
To keep your freshly painted walls looking their best, clean them regularly with a gentle cleanser and a soft cloth. Avoid abrasive cleaners that can damage the paint finish. For high-traffic areas, consider applying a clear topcoat for extra protection.
Remember that proper ventilation during painting and drying times is essential not only for your health but also for achieving a smooth finish free of dust particles.