Step-by-Step DIY Guide to Minor Kitchen Upgrades


Are you looking to breathe new life into your kitchen without breaking the bank? Minor kitchen upgrades can make a significant difference in both functionality and aesthetics. With some DIY enthusiasm, you can transform your space into something fresh and inspiring. Here's a step-by-step guide to help you get started.
Plan Your Upgrade
Before diving into the upgrades, it's crucial to have a clear plan. Assess your kitchen and identify areas that could use a refresh. Consider elements like cabinet hardware, lighting, and backsplashes. Setting a budget will also help you prioritize your upgrades.
Evaluate Your Space
Take a good look around your kitchen. Which areas feel outdated or inefficient? Make a list of potential upgrades and rank them in order of importance. This will guide your DIY journey and help you stay focused.
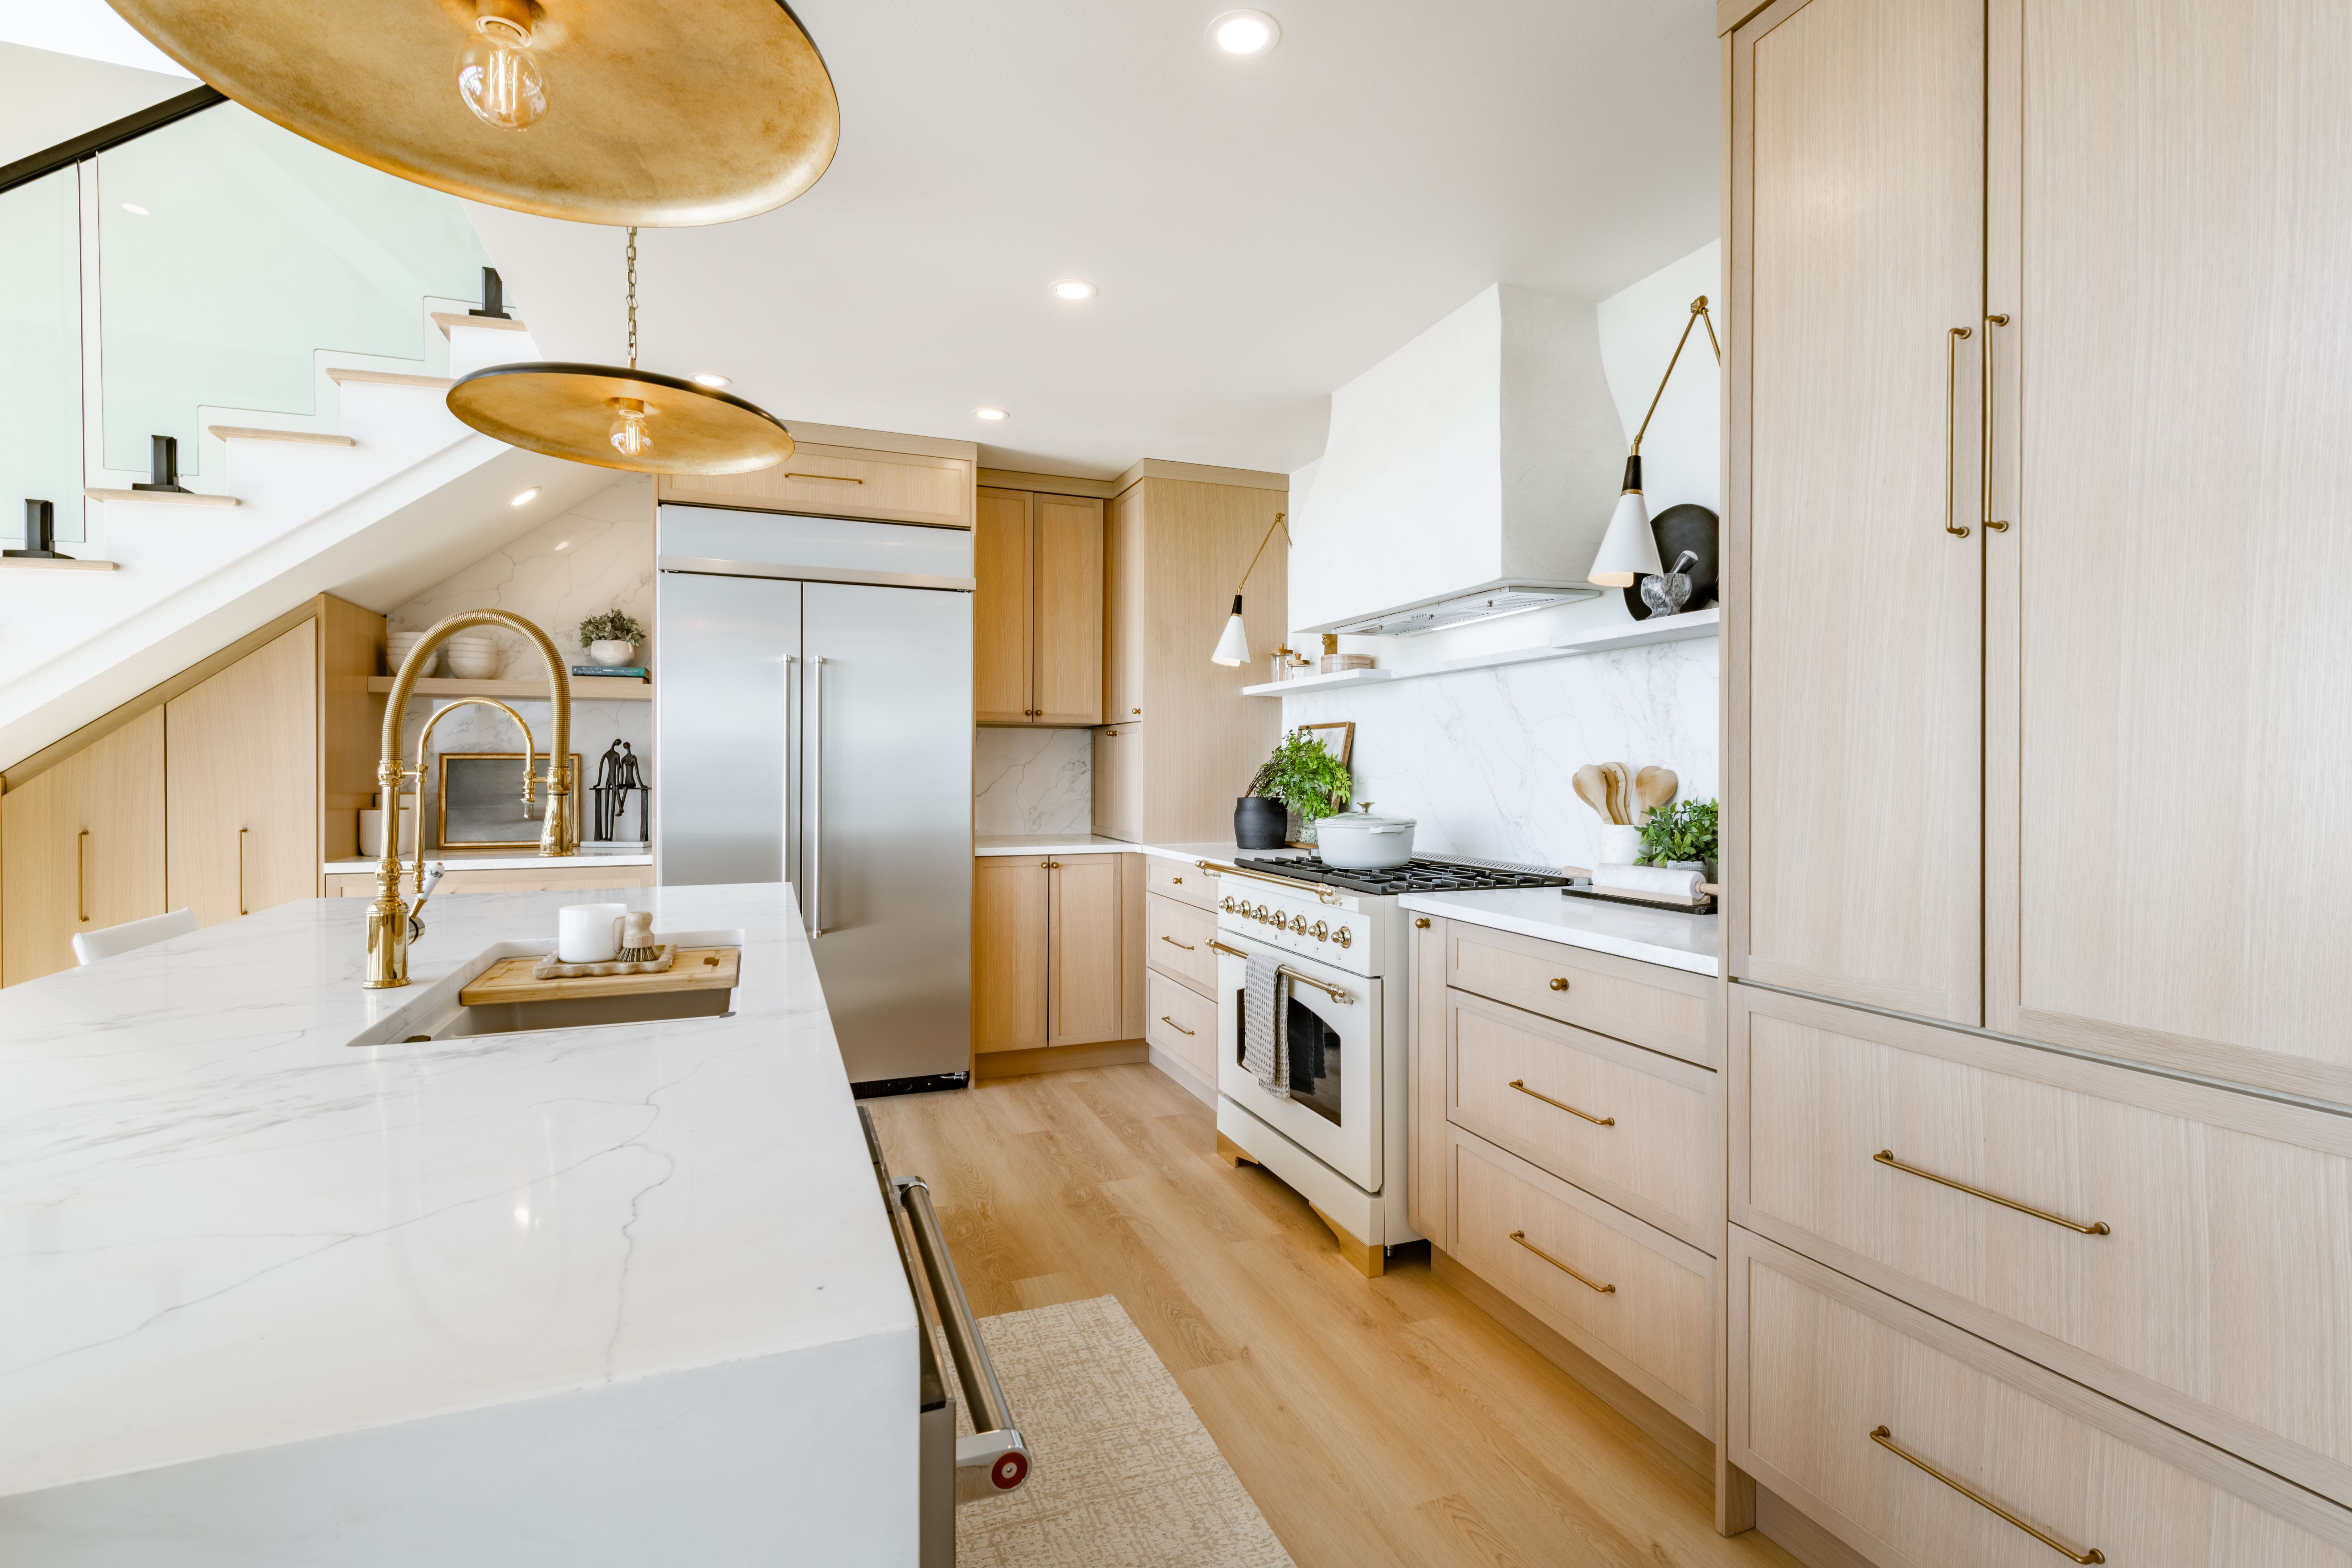
Cabinet Hardware
One of the easiest ways to update your kitchen is by changing the cabinet hardware. New knobs and pulls can give your cabinets a modern look. Choose styles that complement your existing decor or introduce a new theme altogether.
Selection and Installation
When selecting hardware, consider the finish and style. Modern kitchens might benefit from sleek stainless steel, while vintage spaces could use brass or ceramic. Installation is simple: unscrew the old hardware and replace it with your new selections. Be sure to measure properly to ensure a perfect fit.
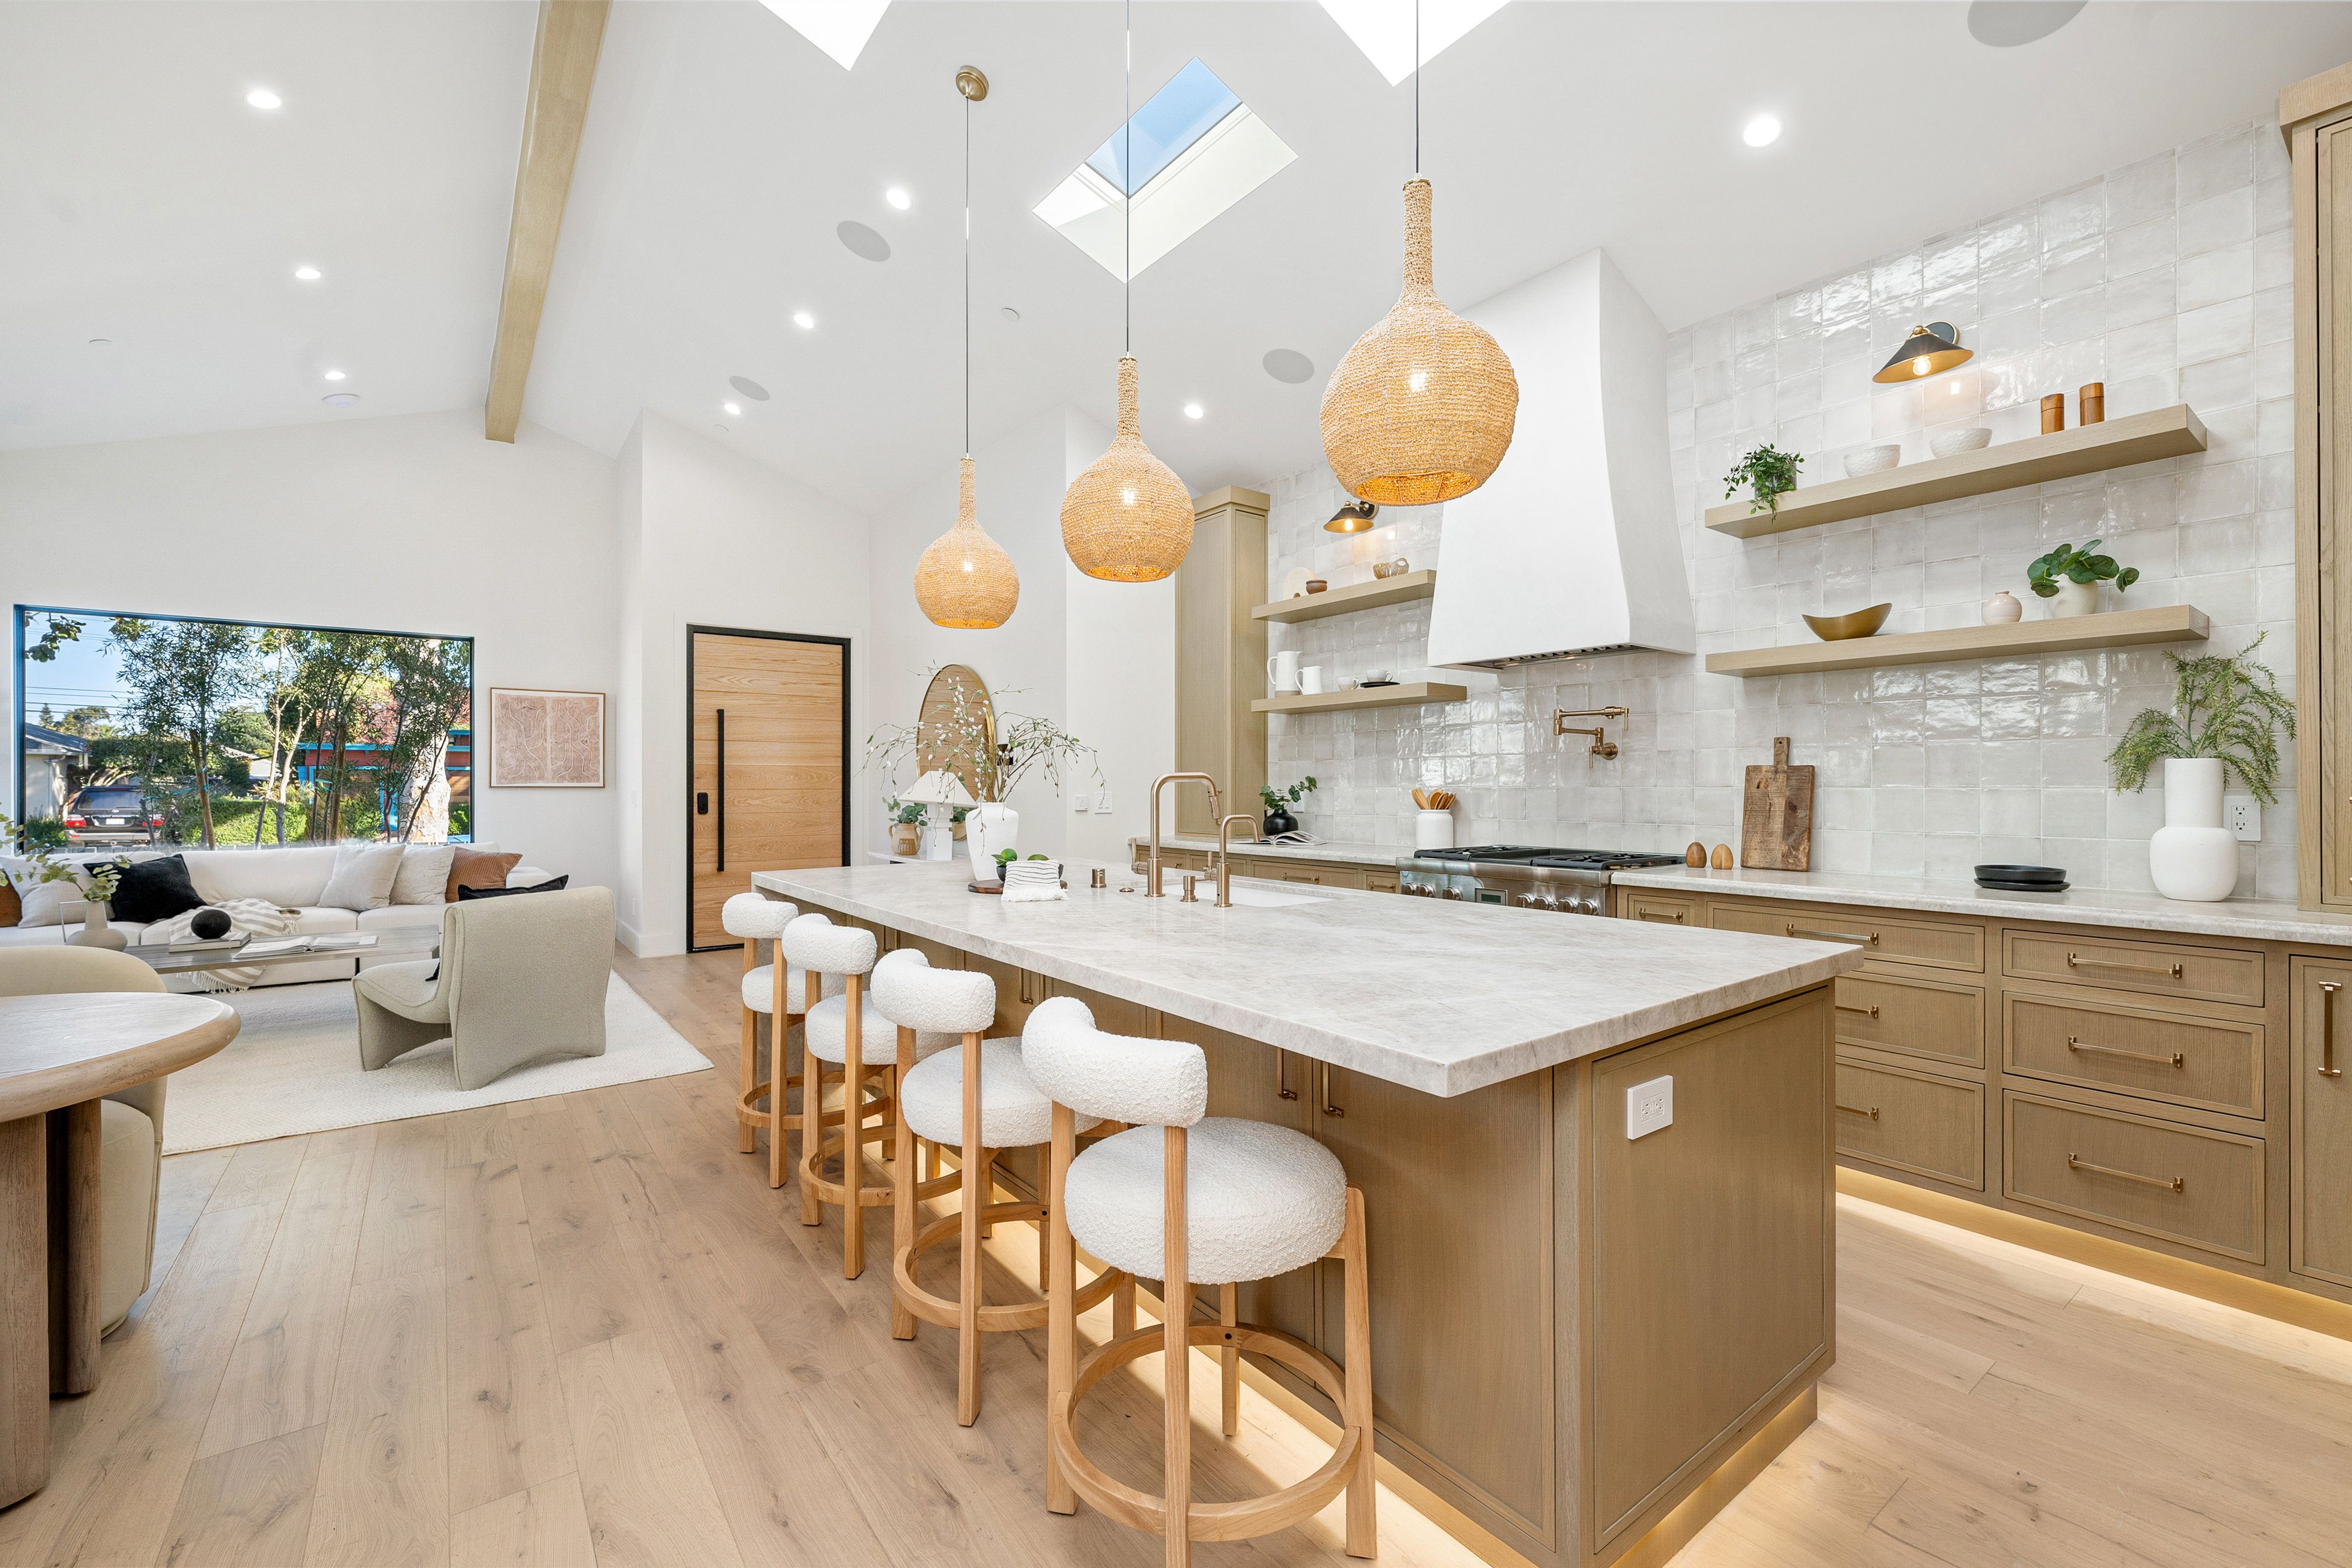
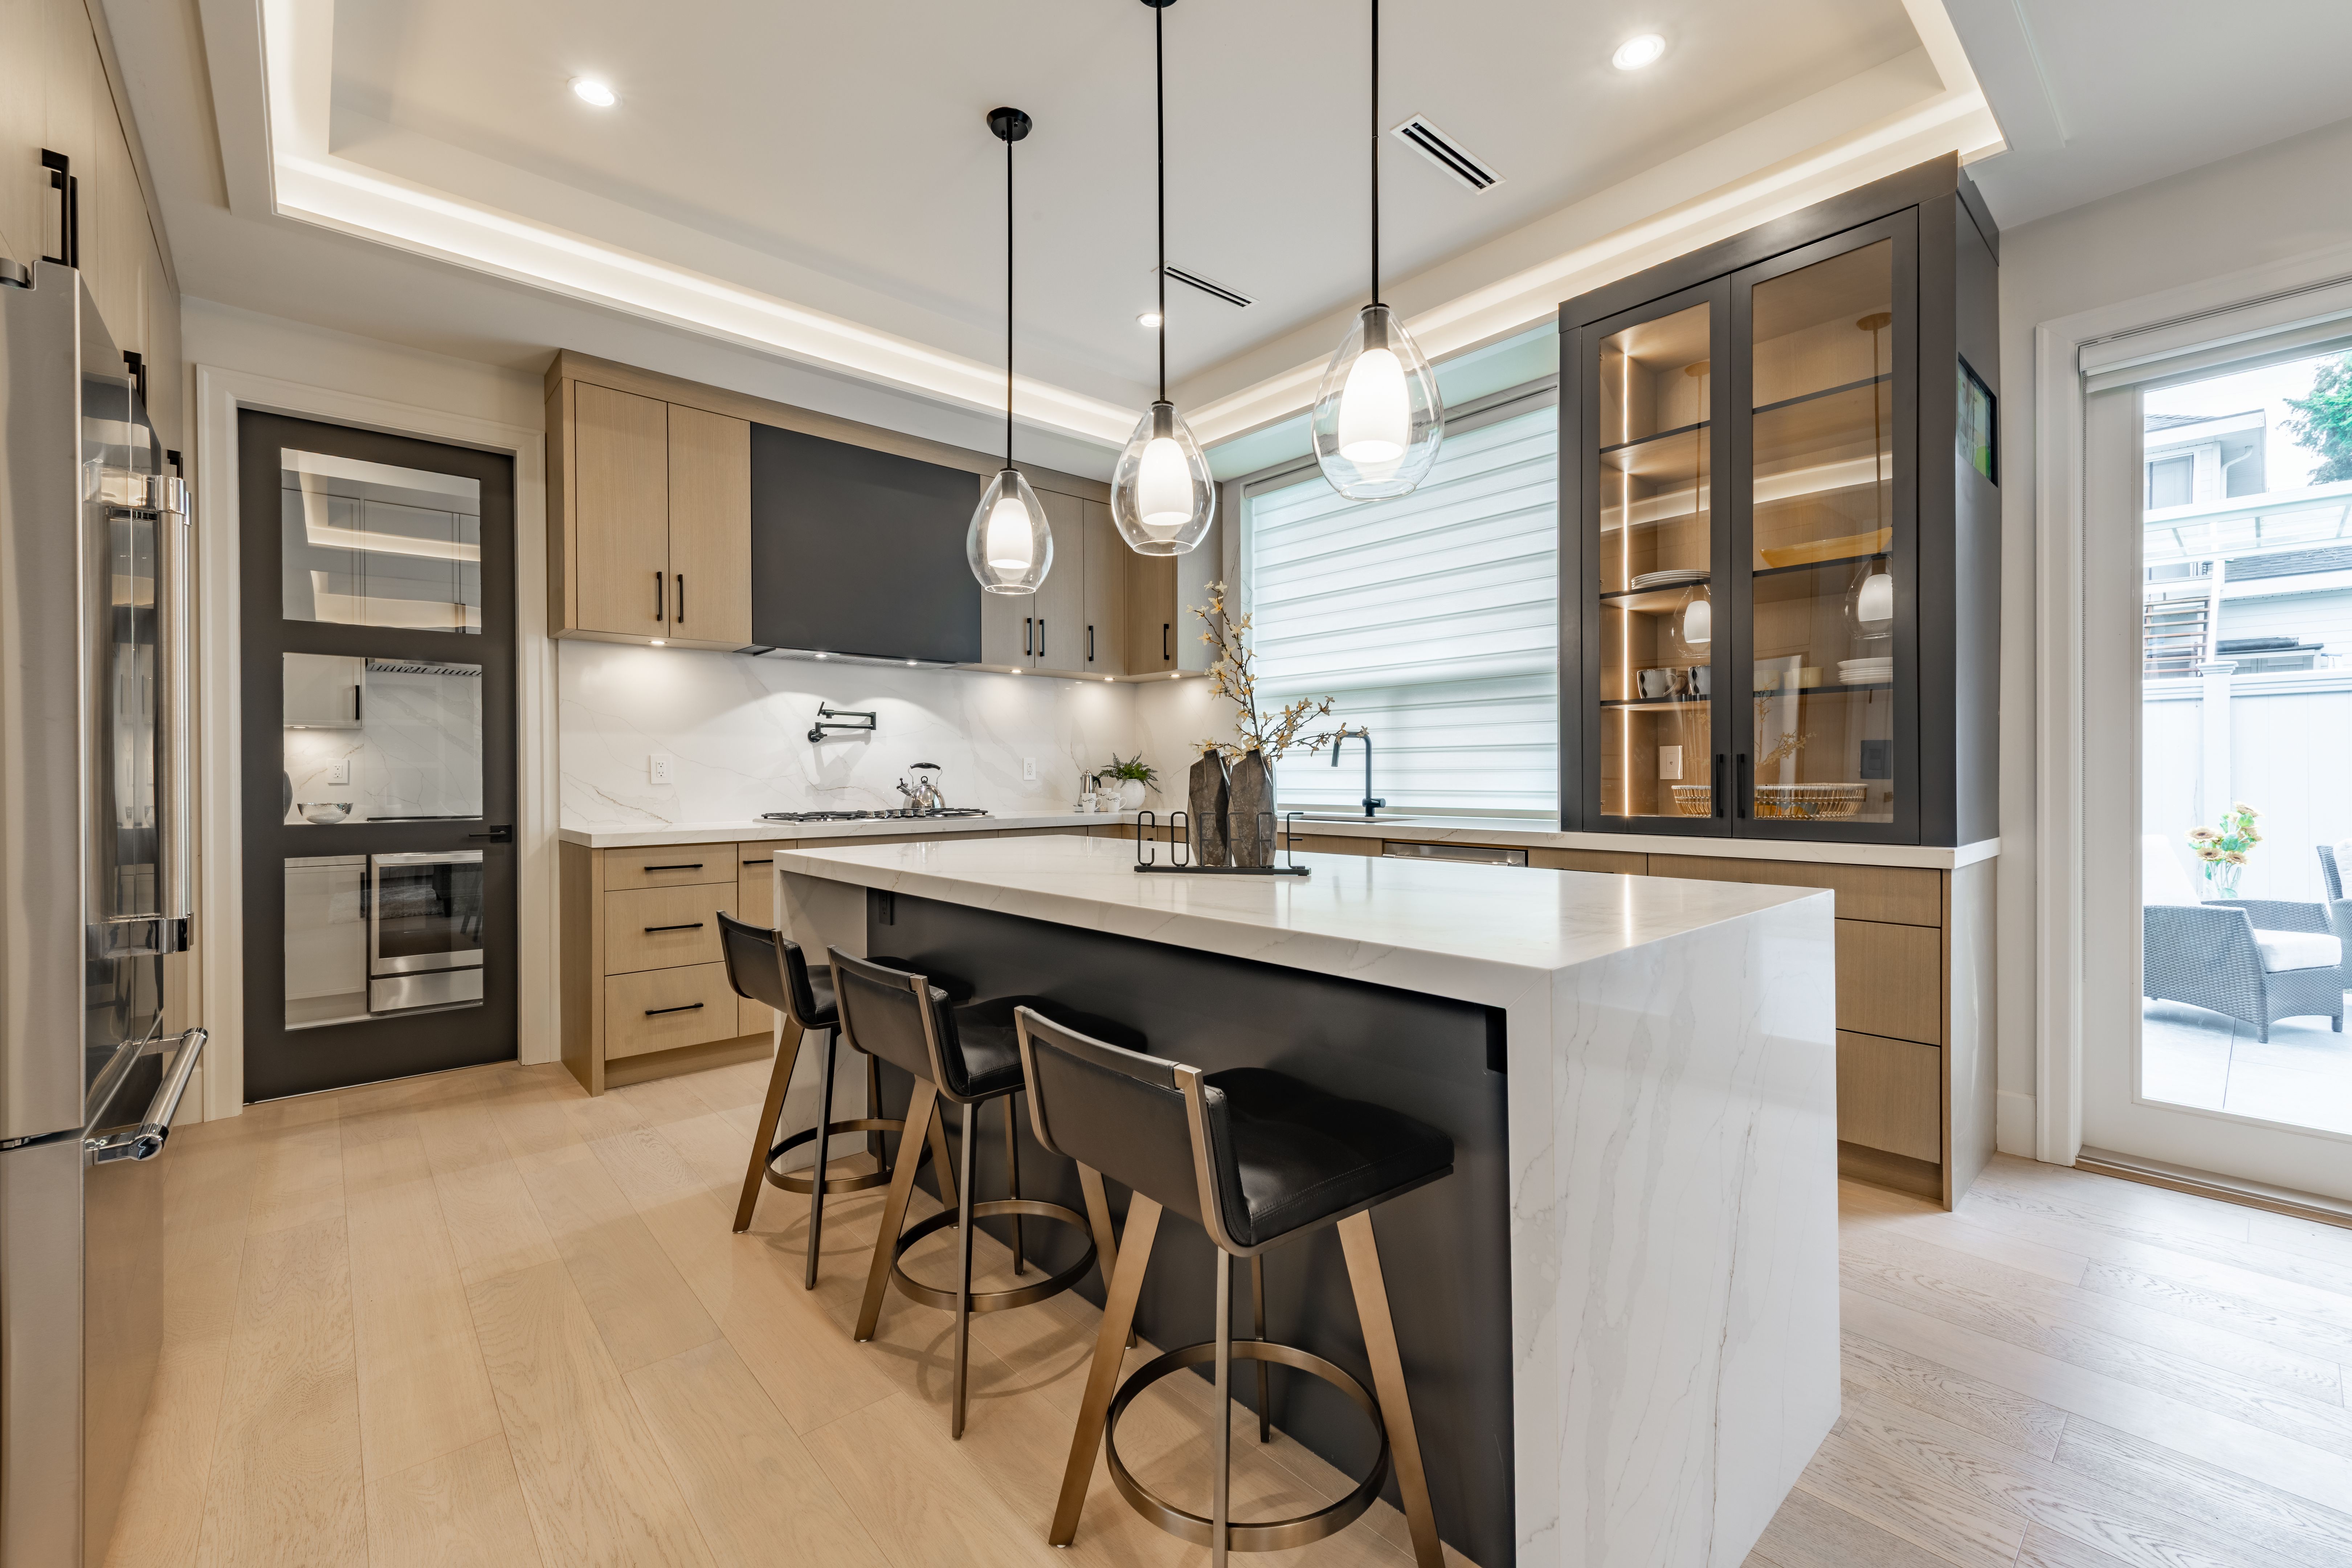
Enhance Lighting
Lighting can dramatically change the ambiance of your kitchen. Consider adding under-cabinet lighting or replacing outdated fixtures with more energy-efficient options. LED lights are a popular choice for their longevity and brightness.
Types of Lighting
Think about task lighting for areas where you cook or read recipes, and ambient lighting to create a warm atmosphere. Pendant lights over an island or dining area can also add a stylish touch.
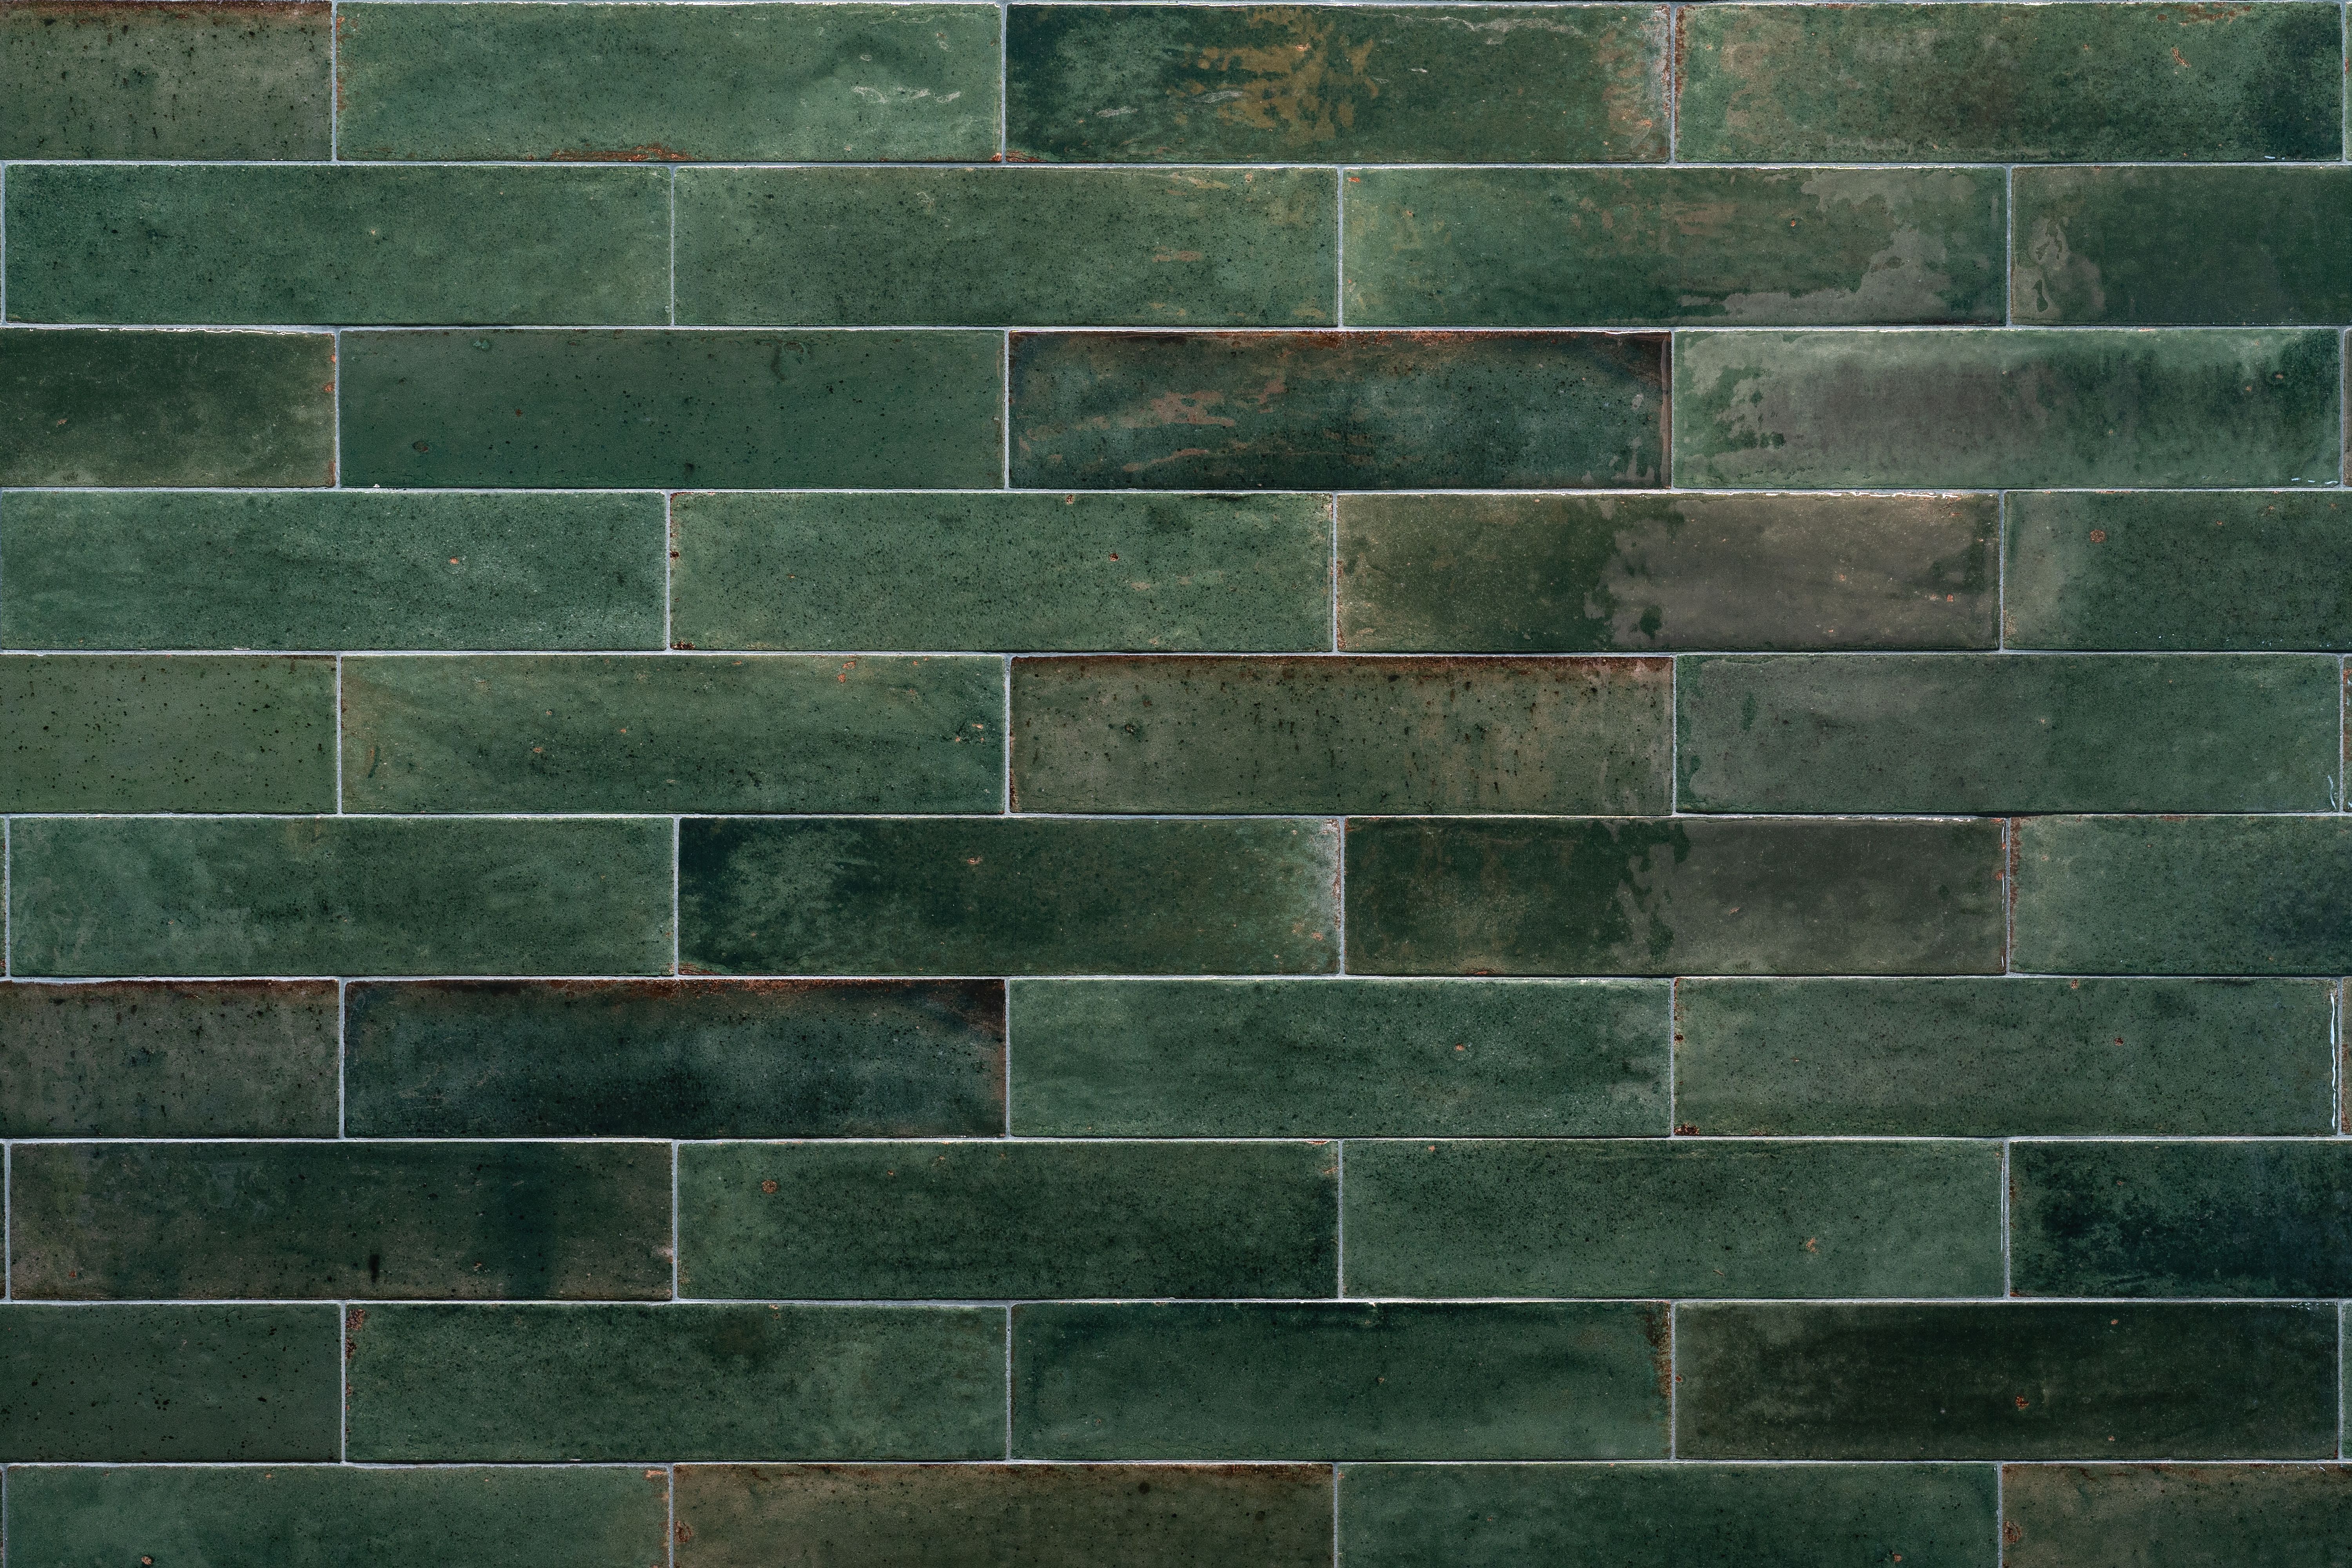
Backsplash Updates
Updating your backsplash is another effective way to refresh your kitchen. Peel-and-stick tiles are a DIY-friendly option that can add color and texture without the hassle of grout.
Installation Tips
Before you start, clean the wall surface thoroughly. Measure the area carefully and cut the tiles to fit. Peel off the backing and press the tiles firmly onto the wall. This simple change can make your kitchen look professionally renovated.
Final Touches
Once you've completed the major upgrades, focus on the final touches. Add decorative elements like plants, artwork, or a stylish rug to tie the space together. These small details can personalize your kitchen and make it truly feel like home.
With these step-by-step DIY kitchen upgrades, you can create a space that's both functional and beautiful. Enjoy your new kitchen without the hefty price tag of a full renovation!